Showing posts with label recipe. Show all posts

Thursday, August 25, 2011

Egg Fried Dried Tofu and Vegetables

Ever since the start of Ramadan up to this very day, when we're hungry, we tend to think about different kinds of food to eat when iftar comes along. Unfortunately, there are no Bazaar Ramadan and such in Dublin so having meals home-cooked is the only real viable solution. Since it's only the two of us (my husband and I) who actually eat a full meal, every alternate day, I'll try to cook something different such as an appertizer or a dessert to add to the main meal so that we won't get bored with the same dish. For example,  i've made sardine rolls, Roti John, Prawn fritters, etc. etc.

And, this is Dried Tofu with Eggs and Vegetables that I've been making for most of the past few weeks. It's so simple but yet so tasty. A relatively healthy source of protein to sustain you for the remaining fasting days ahead too...


To make it, you will need:

Fried Tofu (about a handful will do)
Eggs (or leftover egg whites from making all those Raya cookies) - the amount of eggs depend on the amount of tofu you have.
1 Carrot finely chopped
1 Spring Onion finely chopped
Salt and Pepper to taste

And this is how you can make it:

Combine all the ingredients except for tofu in a bowl. Cut the tofu in the middle with an "X" shape. Take out all the tofu "flesh" and put it in the bowl with the rest. Turn the tofu inside out so it's shaped like a flower cup.

Heat oil in a small pot or deep fryer. Make sure you have enough oil to completely submerge the entire tofu. Put 2 teaspoons of egg mixture in the prepared tofu and deep fry until golden brown. Toss the tofu to rain any excess oil and serve with sweet garlic chili sauce.


PS: Feel free to add meat like minced beef or chicken or even shrimps/prawn in the mixture - for an added difference.

Saturday, August 13, 2011

Cream Caramel Pudding Cake

I thought Ramadan is the perfect time to make a different type of dessert or kuih for iftar. While waiting during the long period to break my fast, I started blog walking and searching on the internet for anything interesting and easy to make.

I've always wanted to make Cream Caramel Pudding and this one in particular has a twist - it comes with a colourful cake base. I made one when I had guests a few weeks ago. They loved it and even took the recipe home to New Zealand. Unfortunately, I forgot to take a whole picture of the cake but hope this is more than enough to show how it looks like for those who have never tried it before. On the other hand, I'm sure most of you already have or will do so soon enough :-)

Oh, and it's been a long time since I shared a recipe here so what better time than now...


Recipe


Caramel
60 gm Sugar
1 Tbsp water


Cream Puding
4 Eggs
500 ml Fresh Milk
70 gm Sugar
1 Tsp essence vanilla


Cake
2 Eggs Separated
70 gm Plain flour
60 gm Sugar
20 gm butter (melted)
Food colouring as desire


Caramel: Melt sugar in a sauce pan, stir until golden brown. Once it starts bubbling, stir in hot water then remove from heat.


Lightly grease a baking tin (I used 8" pan) and fill in caramel above. Swirl the baking tin to completely coat bottom while the caramel is still hot. Set aside for later use.


Custard: Combine milk and sugar. Bring to boil on a low heat then stir in vanilla essence. Turn the heat off and set aside for later use. In a mixing bowl, lightly whisk eggs then stream in milk then, whisk rapidly until well blended. Strain the mixture then fill baking tin with mixture.


Cake: Beat egg yolks with half of sugar and leave the rest aside. In another dry empty bowl whisk egg whites with balance of sugar until firm foam peaks appear. Put 1/3 of foam egg whites into a yolk and flour mixture and gently mix it. Gently fold all the mixture into the remaining egg white foam mixture with a spatula until fully combined. Then, gently stir in the melted butter. Divide the mixture into two or more desired colours. Pour  them in a marble pattern into the caramel mixture. The cake mixture will float on top of it.


Place baking tin  in a tray then fill tray with water or a water bath. Cover the tray with aluminium foil. Bake in a preheated oven, 170ºC for 25-30 minutes or until cooked. Turn the heat off, let it stay in the oven for a further 10 minutes. Chill before serving. Flip over on a plate to serve.


Note: You could double the cake mixture if you want to have a bigger cake layer.

Thursday, August 4, 2011

Ramadhan Al-Mubarak

Ramadhan Al-Mubarak everyone. Hope it's not too late to wish you. I was so busy for the past few days with my guests who came all the way from New Zealand. We had a very busy weekend but we managed to start our extra-long fasting month this year without any problems. Alhamdulillah.

Oooppss.. for my dear friend Rina, I still owe you a tagged entry but for now, I made this using your recipe first. So, I think that should make up for the absent tag as its something from your blog...hehehe. I didn't have enough strawberries to spread them evenly on the dish so I had to cut them into very small pieces to cover my pavlova. Oh, I did tell you Rina that I think I like original one more compared to the improvised chocolate one. Strange for a chocolate lover such as myself but still yummmm... To my guests' surprise, I managed to finish almost half of it by myself!


Mmm...so, what shall I make for dessert today? I'll think about it later as we can only start eating at around 9.30 pm anyway. The fast over here starts from as early as 3.45 in the morning. That's almost 18 hours. Yikes! 

Well, I hope all of you have many more good and barakah Ramadhan days to come and pray for us so that we can do it without any hassle. My sincerest apologies for any wrong-doing over the past year (and even before then) and may we be rewarded by Allah. InshaAllah Amin.

Thursday, May 5, 2011

Rachel Allen's Crumble Cake

When I went to the Rachel Allen cookery demo recently, the menu was tailored for spring/summer. Everything was designed to be light and refreshing. She had Potato and Leek Soup, Grilled Tuna and Mackarel with Pea Guacamole, Salsa Verde and for dessert, there was Rhubarb Crumble Cake.

I did make more or less my own version of the grilled fish  but I don't have any pictures to share of this as I was too hungry to think about snapping pics and had a stab at making a crumble cake. Well, I liked the crumble so much that I made it twice in the week after the demo. I was too lazy too use fresh rhubarb (I was eager to skip the preparation involved with using rhubarb) so, I substituted it with some canned fruits instead. First, I used peaches and on the second attempt, I used pineapple and a dollop of blueberry jam as a sort of counter-balance to the pineapple's sharpness.


The verdict? Both cakes tasted quite nice and fresh but my husband preferred the one with the pineapple/blueberry jam combo which I served with some vanilla ice cream. Hmmm...absolutely perfect in this kind of weather (and definitely ideal for sunny Malaysia too). The cake is very simple and easy to make. I highly reccommended it if any ofyou guys are out of ideas or if some visitors decide to drop by on short notice.


Oh, and by the way, here's the recipe (click on the photo for a bigger, more legible version)...


As Rachel Allen would say, Happy Cooking :-)

Monday, April 18, 2011

Happy Birthday Daddy!

Owhhh.. my bad..it looks like for the past weeks, I've only updated my blog once a week now and it's only when there's a special occasion in my life. Like today, for instance. It's my beloved hubby's 33rd Birthday.


I've been so busy for the past few days including yesterday. I didn't get enough sleep and rest and when there was a break in things to do, I was out of the house to get some stuff to cook. This morning, while my hubby took a quick nap after getting the kids breakfast, I made him a quick surprise birthday cake. Actually, since I first heard of rainbow cakes I've always wanted to bake one but somehow, I wasn't rajin enough to prepare the many layers of colour. So, instead of the rainbow's seven, I've decided to make only two. OK, maybe I could say four layers if I wanted to show more of an effort...hahaha.


So, this is what the cake looks like inside.


I basically wanted to use red velvet or normal white cake recipe but I like the taste of a swiss roll so, I used Kak Mas from Ilham Dapur Kek Gulung's recipe as a starting point and it was surprisingly, really simple.  I simply doubled the ingredients to make four layers in 8" round tins. Don't worry if you feel the batter is too thin because the cake wouldn't look nice and would be too big for the whole cake.

Recipe

140 grams cake flour sifted
2 tbsp milk powder
6 eggs
120 grams sugar
1 tbsp essence vanilla
1 tbsp Ovalette (Omit if you don't have it)
120 ml vegetable oil
Food colouring

Frosting
1 package Phildephia cream cheese
1 stick unsalted butter
1 cup sugar

Preheat oven at 170 degrees celcius and grease a baking tin with parchment paper. I only have 3 pans so I reused them.

Mixed all the ingredients except the oil until foamy. Then, stir in the oil with a spatula until well mixed. Divide the mixture and put in the desired food colouring. Pour the mixture into the baking tin and bake for 15 to 18 minutes each until lightly brown. Remove from the oven straightaway and turn out immediately onto a cake rack and cover with a clean towel until ready to frost.

Whip all the frosting ingredients until fluffy. Layer each cake with the cream cheese frosting and cover it all with the rest. Decorate it as desired.


My daughter actually asked me to draw the Vespa at the bottom of the cake. I'm not that artistic so she taught me how to do it in her style.

Ameera: Draw a semi circle, Mummy and two wheels and stick in a line and a dot for the handle and headlamp.

And...she put in the 6 candles. Well it's suppose to be 3 and 3 for 33.

Monday, March 14, 2011

Toffee Pecan Brownies

I stumbled upon this yummy blog which is filled with loads of gorgeous recipes (thanks Jac!) and was extremely tempted to try this recipe. Brownies? Yes, but instead of the normal chocolate ones, these ones are of the sticky, gooey variety - Tofee Pecan Brownie. Even the thought of the name makes me drool...mmm...sticky...gooey...toffeeeeee...hehehehe..


OK, to be honest, I'm not really that big of a fan of these non-traditional brownies. Maybe it's because there was not enough chocolate in them but, my husband LOVED them so much. He finished almost the whole tray (of course, not in one day). I, on the other hand, would love to say it's really yummy but it would've been yummier with more chocolate (I like chocolate if you hadn't noticed). The brownie should have toffee layers within it but due to my laziness - I couldn't wait for the toffee to melt and thicken again, I just poured the toffee into the mixture straightaway. As expected, it didn't turn out as planned but one could probably still taste the brownies' all-round gooeyness. I serve them with vanilla ice cream and even more toffee syrup..... mmmmmm heaven...


So, this is the recipe which I copied from Tinned Tomatoes...


Toffee Pecan Brownies

100g/4oz dark chocolate, chopped
175g/6oz butter, diced
250g bag creamy toffees
5 tbsp double cream
4 large eggs
2 tsp vanilla extract(I don't have in stock at home)
350g/12oz/2 cups caster sugar
200g/7oz/2 cups  2 tbsp plain flour
1 tsp baking powder
100g/4oz pecan nuts, roughly chopped


Preheat oven to 180c/gas 4/fan oven 160c. 
Line a brownie pan with greaseproof paper.
Melt the chocolate with the butter.
Melt the toffees with the cream.
Lightly beat the eggs with the vanilla, stir into the melted chocolate with the sugar. Sieve in the flour and the baking powder, mixing lightly. Stir in the pecans. 
Pour half the mixture into the brownie pan and drizzle over ¾ of the toffee sauce. Spread over the rest of the brownie mixture.
Bake for 40-45 minutes until firm to the touch. Leave to cool.
Reheat the remaining sauce and spread over the brownie cake before cutting into squares.

Do give it a try.. and enjoy!

Friday, February 4, 2011

Green(?) Velvet Marble Cheese Cake

This was the entry I mentioned yesterday. yeay... finally I get to upload the photos.

I was bored. I had a huge pile of laundry to fold and sort. However, I wasn't in the mood to do it just yet. But it's not like I have the choice to just leave the clothes in semi-organised piles? Anyone want out there care to help? Urrgghh...

Tired at looking at the laundry, I went to the kitchen to find something to eat. I remember coming across this blog entry by Maz. It looks tempting.  I like the idea of topping the cake with cheese cake instead of cheese frosting. So, I gave it a go.


Unfortunately, I realised that I had ran out of red food colouring. Not willing to surrender easily to this small hurdle, I used the only available food colouring - green! Therefore, I am calling my freakish creation, Green Velvet Marble Cheese cake.


I can say that it tastes quite nice. Imagine eating red velvet and cheese cake at the same time.Yummy...and I would just love to add some cream cheese frosting on top of it too and wash it all down with some home-made coffee with Starbucks' Toffee Nut syrup. OMG, that would be waaay to fattening. OK, I'd better stop before I fill myself with tons and tons of cholesterol!

Monday, January 31, 2011

Devil's Food Chocolate Cake Anyone?

Oh my..oh my.. I've been so lazy in updating my blog lately. So many things to do. Even when I have the time I just couldn't find the words to start off my entry. Sigh...

OK, to cure my writers' block, I'll share with you this Devil's Food Chocolate Cake I made on My birthday(tak abes-abes pasal besday dia lagi???). Hahaha... sounds weird doesn't it - baking my own birthday cake but I absolutely barred my husband from buying me any cake. Well, first of all, there are not too many choices of nice cakes over here in Dublin and secondly, I would prefer to try and experiment with new recipes that I found on blogs and on the web. So, here's me baking a cake myself instead.

Looks so ugly but yet tastes so lovely. Ahaks!


I took the recipe from Kak Ayu's blog (Ohhh... kek kek coklat dia sedap2 belaka). Somehow, at the end of mixing the ingredients the batter wasn't thick enough and I just realised that I accidentally used the wrong cups to measure the water and butter milk. I used one cup instead of half a cup of water  and half a cup of butter milk instead of a quarter of a cup. Urrrrghh... Not wanting to waste the mixture, I just gambled and added another batch of ingredients without following the proper instructions and did things the wrong way around like beating the butter and sugar first etc..etc... . Surprisingly, the cake turned out to be quite nice (ayat nak sedapkan hati) and so yummy and because of all the extra ingredients, bigger. All the better, of course. Ahaks.


What I like about this cake is that in between layers, there's the cream cheese frosting which makes it even tastier. Emmmm nyum...well you can try it yourself if you don't believe me.


I promised this will be the last entry about my birthday. After all, today is the last day of January and I'm turning 26 (like some people say) only once (or maybe twice!) in a life time. Hehehe... I just enjoyed my birthday so much.  Can't wait for next year. Eh but I just remembered that I didn't tell you guys what I got myself with my gift voucher yet??? Hehehe. Jeng...jeng...jeng...


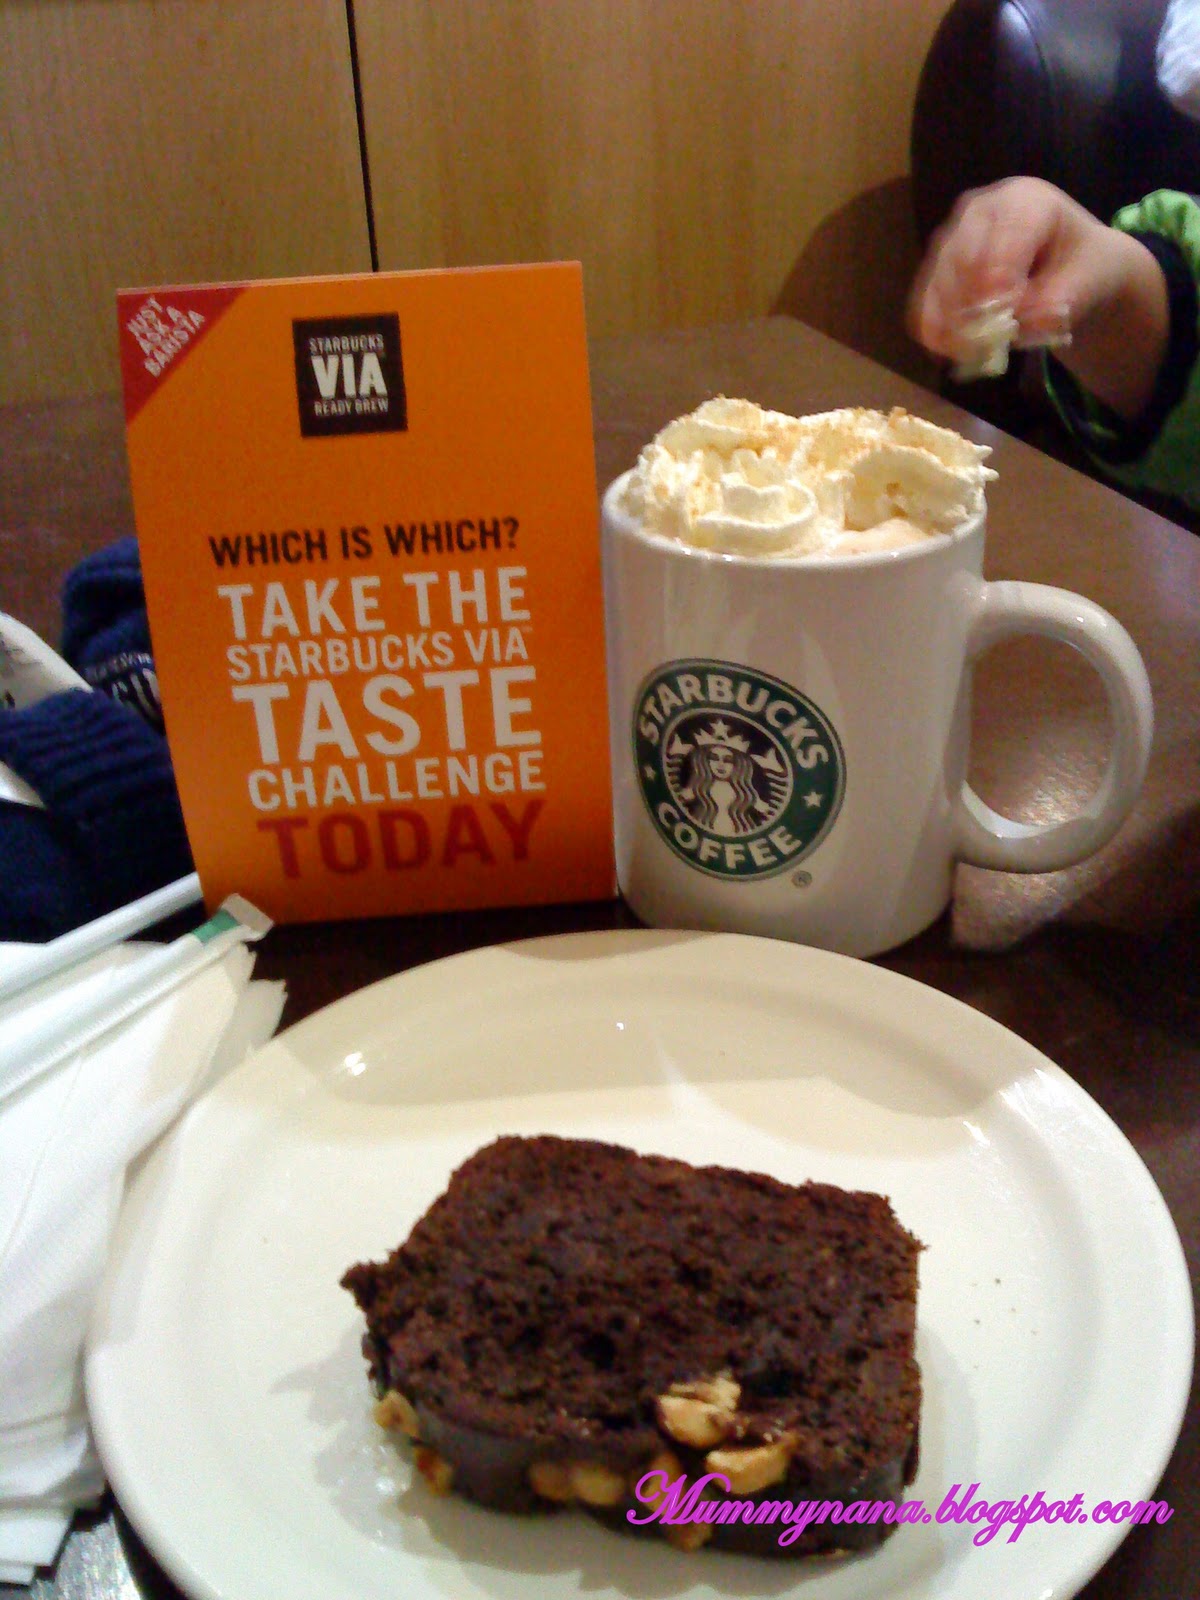
A birthday treat from my good friend Mrs. AngeliNastasya @ Starbucks, Thanks dear.

Pic courtesy of Mrs AngeliNatasya

Birthday dinner with family and friends @ Wagamama

Am so blessed. Alhamdulillah.

Thursday, January 13, 2011

Squashed Sandwich

This is what happens when your kids watch too much television. Hmmm...

On the way to school one morning, Husayn kept on telling me that he wanted to eat a squashed sandwich, just like the character Humf on Nick Jr. Not surprisingly, I was a bit confused as to what a squashed sandwich was and considered it a challenge from my own son. Eager to to find out what this mysterious food thing was, I asked him to tell me about it.

Husayn gave his demonstration...

Step 1: Take a yummy sandwich (the yummy ones that Mummy makes should do)

Step 2: Put it in a bag so it won't get dirty...

Wait...Dirty? What's going to get dirty?

Play the video to see the next step in making Husayn's own version of Humf's Squashed Sandwich...

Saturday, December 4, 2010

Sardine Rolls

Thank God, the snow has now stopped (for the moment at least) but we still went to do some shopping at the shops near us by walking there with the kids. On the way back we saw this...


Isn't it cool? Later today, for the first time in the whole week we're actually heading out by car to a friend's house for satay. Wish us luck and pray that we won't get stuck in snow and ice along the way.

Anyway, earlier this week, I realise that I bought too much white bread. Sometimes, it gets so unpredictable. When there is a little bread at home, everyone asks for it like there is no other food around the place. When I bought some extra bread, nobody wants to even look at it. So, even though I had already made Sardine Rolls last Friday, as there was still some leftover bread this week, I decided not to waste it and made more. Here's how you can make this quick snack for yourself.


You will need...

White bread (whatever you have left)
Eggs (enough to coat the bread)
1 can of sardines in tomato sauce
1 onion, chopped
2 tbsp lemon juice
Salt, cracked black pepper and sugar to taste
1 tbsp of cooking oil

Heat 1 tbsp of oil in a pan. Pour in sardines and continuously mash it with a fork while you cook it. When finely mashed (depends on what the initial fish was like and how you like it) put all the other ingredients in the mixture. Stir it for approximately 2 minutes.

Take a piece of bread and with a wet rolling pin, roll the bread until it's completely flat. Put one tablespoon of cooked sardines and roll the bread like you're making a swiss roll. Dip the roll in a bowl of beaten eggs and deep fry it in until golden brown.

Wednesday, October 27, 2010

Ikea Meatballs

Last night, when I was blogwalking I come across this blog by the lovely Sizuka and got the chance to read through a few of her older entries. As always, I love looking at other people's cooking which comes in handy for the days when I run out of ideas on what to cook for my own family's next meal.

While my sister is around, she mentioned and requested so many dishes, one of it being Ikea meatballs. Hmmm...sounds nice. But, for some reason, when I was about to my attempt at making the dish, I couldn't open Sizuka's post above so, I Googled for an Ikea meatballs recipe instead.

Well, what else can I say? I just love it and the taste is more or less the same, I guess. But, as always I put an extra something on the plate to make up for the missing lingonberry jam. I never liked it anyway...

This was what eventually ended up on my plate...


...and this is Ikea's version.


My version of the recipe is more or less the same as the original recipe, without the mince pork of course. And, I used the same pan the meatballs were fried in along with the leftover butter for the cream sauce as a substitute for beef stock. Then, I added my own home made mashed potato (recipe below) and boiled some broccoli and carrots for a side dish/salad.

Mummy Nana's Mashed Potato recipe

4 Large potatoes
2 Tbsp butter
2 Tbsp Mayonnaise
1 Tbsp of milk (optional)
Salt and pepper for seasoning

Skin and then boil the potatoes in water until they are soft. Mash the potatoes with a fork. Fold in all the other ingredients and mix well. Your mashed potatoes are ready to be served. Enjoy!

Friday, October 22, 2010

Soup in a Bread Bowl

It had been a long time since we've been at a food market particularly one in the heart of city center. It's called Temple Bar Food Market. When we lived around the area, we used to go there every single Saturday just to look around and to enjoy the home-made food made by the large variety of people.

So, last weekend as we were in town, and passing by the area we decided to drop by the market and have a little browse around the place. These are some pictures taken while we were there...


...and what really caught my eyes was this:


It's so yummy and totally different to what I've experienced before.

When we eventually got home, I just couldn't stop thinking about the lovely soup and bread combo. Waiting another week was not an option and the fact that I didn't think my hubby would willingly entertain my requests for plain old soup and bread I  Googled the recipe. Unfortunately, I couldn't find anything remotely similar. Fortunateky, a brilliant idea came to mind. As  I didn't have any sweet potato at home, instead of making the same soup, I made this vegetables soup with some home-made bread using a baguette recipe.

Oh.. my pic is so not mengiurkan.. but believe me... it tastes yummy.. ahaks!

For the soup I just used whatever vegetables I had and boiled them until soft with some garlic cloves and seasoned the whole mixture well with salt and pepper.  When the vegetables were really soft, I just put the whole thing into a blender and blended it well. I poured it all back in the same pot until it boiled. You might need some chicken cubes or vegetable cube for extra flavour. I served it while it was still hot in the bread that I made.

For the bread. Instead making the long baguette shapes, you might need to make a big ball for each soup to be served in. When its cooked, cut the top of the bread and take out all the soft nits inside the bread. Pour the soup in the hole in the bread and enjoy!

Tomorrow is Saturday. Mmm...maybe we might just stop by the Food Market again...

Friday, October 8, 2010

Chicken Quiche & Strawberry Cheese Cupakes

As my sister is visiting us and is around the house, she's demanded a lot of things for me to cook (kasi chancelah kata jadi bibik sebulan kan.. hehe). So, being the nice big sister that I am, I made a chicken quiche as our side dish for dinner today. I can't remember where I got the recipe exactly but I think I it was some time ago when Googled for a quiche recipe and as usual, I'd change the recipe a bit to suit my own tastes as well as adapting it to what I had in the kitchen at the time.


Pastry
220g plain flour
120g cold butter
1/2 tsp salt
About 3 tbsp of ice cold water
Or, if you're feeling lazy, you can always buy instant shortcrust pastry instead

Filling

1 Large Boneless chicken breast (sliced into bite-sized pieces)
5 Button Mushrooms
1 Onion chopped
2 Garlic cloves chopped
1 Red Capsicum
1 Green Capsicum
200 ml Cream/Milk
4 Eggs
Salt and Pepper to taste
Grated cheddar cheese optional as a topping


Place the flour and the salt in a large bowl. Cut the butter into small cubes then add to the flour. Rub the flour and butter between your fingers till the mixture resembles large breadcrumbs. Add the water, continue mixing, then knead gently into a ball. Place in the fridge for about 15 mins.In the meantime, grease a quiche/flan dish (approx 24cm) and preheat the oven to 180C. Roll out the pastry and lay in the quiche dish . Trim the edges. Pre-bake the pastry case for about 12-15mins, then remove from the oven.

Filling

Gently fry the onion and garlic until soft and put in the chicken. Cook until brown. Then, stir in the mushroom until it's soft too and mix in all the peppers for a minute or so. This is to avoid the peppers from being cooked to retain its flavour. Season well with salt and pepper. Pour mixture into pre-baked pastry.  In a bowl, whisk all other ingredients and pour on top of the pastry and other filling. Bake for 40 minutes and the quiche should be done.


Now for the Strawberry cheese cupcakes for dessert. It's basically just a normal cheese cake with some added strawberry jam  in the mixture (for that slight hint of strawberry) and a little bit more for the topping. Oh, and some whipped cream for decoration.

Wednesday, October 6, 2010

No Bake Peanut Butter Pie

Honestly, I don't like peanut butter. But looking at this pie from Joy the Baker make me want to have a go. The pie looks so beautiful but at the same time I thought it was simple enough to make.

My version

OK, I'm not good at taking pictures. My husband always says my cooking is always nice but crappy pictures of them won't actually tempt anyone. I'd tend to agree. So,  to tempt people this time around, the below picture was taken from her blog itself. Seriously, what do you think? Nice, eh?


Isn't it pretty? I had a go at making myself the pie and obviously, tasted it. Not that bad even though, like I said earlier, I don't like peanut butter. My husband on the other hand, loved it. Oh, and he's a fan of peanut butter so, he might be a bit biased.

Anyway, here is the recipe adapted from Joy's...

20 Digestive cookies
50gm butter (melted)

1 3/4cup heavy cream
1 cup Peanut Butter
3/4 cup Cream cheese
1/3 cup sweetened condensed milk

Crush the cookies in a food processor until well grounded and mix it with the melted butter. Press the mixture along the sides of a tart pan and along the bottom until evenly coated.  Carefully place the tart pan in the freezer while you prepare the filling.

Just whip 1 cup of the cream until it's firm and combine all the other ingredients. Pour the mixture into the prepared crust and spread evenly.

Whip up the remaining cup of heavy cream to stiff peaks and add to the top of the peanut butter filling.  Refrigerate it for at least two hours or personally, I think a bit longer to make the pie taste and look nicer.

Friday, September 17, 2010

Tomato Soup & Potato Kuih Keria: Fresh From the Garden

OK what did Mummy Nana cook today with all the produce  from her garden?

Other than the potatoes from my messy garden, I also have a few tomato plants. Before spring came along, I planted a few tomato seeds. It took quite sometime to grow as big as this. But my patience paid off. I now have plenty of red cherry tomatoes. I don't really like to eat them raw so, I made some soup out of them and ate it with garlic bread. It was really good and especially helpful to clear a bit of my sinuses. Eating hot soup is definitely one of the more understated remedies to make one feel a bit better.


I know there are lots of different ways to make a nice tomato soup. But I'm too lazy to log on the internet to find a really good recipe. I just used whatever ingredients I had in the kitchen instead. With utter laziness, this is how I made it:


10 Red Cherry Tomatoes
1 Carrot cut into chunks
3 sticks of Celery cut into chunks
5 Garlic cloves (crushed)
1 Chicken/Vegetable stock cube
1 cup of Water
3 tbsp Olive Oil


Method:
Put in all the ingredients except the olive oil, water and stock cube into a medium-sized casserole dish. Drizzle the olive oil and bake in a pre-heated oven for 20-30 minutes (make sure all the vegetables are cooked and soft). Let it cool down for a little while and blend everything into a smooth puree. Pour the thick puree in a pot and put in the water and the stock cube. Let it boil while rememberng to stir gently and serve while it's still hot with some home made or ready made garlic bread. Mmmm....Yummy.


PS: If you don't have celery or carrots, don't worry. You can use any vegetable that you have in the fridge as long as it's around the same portion. You will be surprised and I bet that it'll still taste as nice.

 
These kuih keria were made using the potatoes from the garden. Not bad really. I just switched the main kuih keria ingredient from sweet potatoes to my own homegrown potatoes and poof! There they were, Potato Kuih Keria.

Sunday, August 22, 2010

Cooking Kuih Cara

 I always like to have dessert after my meals. Hmmmm... as it's the fasting month, I wanted something light and traditional. My husband's not very fond of traditional Malay kuih. It's not that he doesn't eat them but when compared to me it seems that his not very fond of them. I can eat a whole plate of kuih keria in one go or bubur pulut hitam in a minute. Really.


So, during the week, before my hubby leaves his office he'd call me as usual and let me know that he's on the way home. Before he hung up the phone I asked him what he wanted for dessert. After discussing it for a few minute he said

OK Yang, you just think of something and surprise me. See you in a while.

Errr... the reason I asked was because I had no idea as to what to make that day especially since he doesn't really eat what I wanted to make. Hishhh...tak suka tau!

So, browsing the internet and remembering when my Mum visited last where amongst many things, she bought me a kuih cara pan. I never tried to make it before as I was afraid the batter would stick to the pan and won't come out as nice as it should. Unfortunately, without even give it a try I gave up and the pan was left at the back of my kitchen cabinet gathering dust.

 I like it well-done, it's crispy.

But that day, having ran out of ideas, I finally decided to give it a go. I found this simple kuih cara recipe from this blog or if you're too lazy to visit here's my version of the recipe, adjusted to what I had in my kitchen that day.

100g flour
1 small can of coconut milk (160ml)
1 can of water (using the same coconut tin)
1 egg
Green pandan essence
1/2 tsp salt
Sugar to put into each kuih cara
Butter to grease the pan

Method:
Put all the ingredients except for sugar in a blender. Blend well.
Heat the special pan. Put a tiny bit of butter in each hole/mould of the pan. I even tried using Planta as well and it definitely adds to the taste. Pour the batter into the pan. Insert 1/2 tsp of sugar in each mould. Leave it for a while to cook. Make sure the stove is on a low heat though. Cover the pan if possible. When it's cooked (the batter will become more solid with the edges browning slightly), try to take it out with tooth pick or something similar. Makes 12 pairs of kuih.

 My Santa's Little Helper. She insists to help all the time.

Having cooked this traditional kuih, I'm a bit proud of myself and as usual I ate most of it. Seriously. I  told you so. It's really quite easy when you know how and... they didn't even stick to the pan. Give it a try. I finally did.

Tuesday, July 27, 2010

Red Velvet Cake

Personally, apart from the rainbow cake, this red velvet is a hit at the moment. I've always been tempted to make this cake but I can't imagine how it tastes like. The ones I've seen, looked so fluffy, velvety, scrumptious, yummy and so beautiful too. Like some sort of small version of a wedding cake.

So, it was quite a coincidence when browsing the internet recently, I came across this...


Isn't it great? It looks simple enough as well. Yeah, right. Tipu jek... But, I still love it and it's not too bad. I don't have the required 9" round pans so I used 1 big 9" round pan instead. My verdict: Use as directed because if you use a big one, you'd need to cut it and as an amateur like me, I nearly broke the cake into pieces. Also, it would take longer to bake and the texture didn't turn out as soft as in the video (as far as I can see).

My version of RED VELVET cake


I just realised that I don't have enough Philadelphia cheese for the frosting. I  only  had one pack at the time. Because of that, I didn't have enough frosting so, I just put a thin layer for that sandwich effect.

That's why it looked so buruks inside

Tuesday, July 13, 2010

OREO again.... now in Milk Shake form!

Hmmm.... the kids love Oreo cookies so much... well we ALL love Oreo cookies so very much. I guess everybodys love it! I've never met a person who doesn't like Oreos. They can be eaten just the way they are, dipped in milk, baked in a cheesecake, cupcake or even made into doughnut toppings. Oh, the list never just never ends. It's just my all-time favourite. Whoever invented Oreo (if not rich already) will be rich just because of us. Hahaha!

So, today not being a particularly cold nor a warm day, felt just nice for us to have our favourite Oreo milkshake. Instead of going out and paying loads of money for something like an iced drink, slush or frappuccino, I just bought a few ingredients and tadaaaa...it actually costs less plus, we'd be able to enjoy it even more in the comfort of home.

So this all you need for the shake...

4 scoops of plain vanilla ice cream
8 oreo cookies
4 glasses of fresh milk
Fresh whipped cream for topping and a few pieces of oreo cookies for decorating


Blend all the ingredients well in a blender or smoothie machine and pour the mixture into your desired glass.

Liquid heaven!

Friday, July 9, 2010

Doughnuts owhhh Doughnuts

I just can't sit in the kitchen and do nothing. After I've finished cooking for the night's dinner, I'd still have plenty of time to wait until my husband gets back from work. OK, I could just sit back and do nothing or tidy-up stuff in the kitchen cabinet or mop my kitchen floor or even play with my kids. But, I'd normally choose to cook something instead. Or make some dessert for after dinner.


So browsing around again on one of my favourite blogs, E-na Zarina @ Lovely Kitchen I saw a few doughnut recipes. Which one to choose? Which one is the easiest and doesn't need so much effort or ingredients in it? OK, there wasn't much of a difference but I chose this one.

To be honest, I've never been good at making doughnuts - either the dough wouldn't rise enough or when I cook it, it would get too oily or the insides were just not properly cooked. I've almost given-up on making doughnuts but today suprisingly, I made it.

YEAY!!! Right after I fried the doughnuts, my kids screamed begging to eat them straightaway. The doughnuts were still hot but I gave them anyway. I just dusted them with sugar and shockingly they finished it at one go and screamed for more. I thought I had made too much but half-way through frying the doughnuts I realised I didn't have any left. So, I ordered the kids to stop eating. Hehehe..


These are the ones that were left. Instead of dusting them with sugar or fancy chocolate sauce, I decided to  cover them with cream cheese and coarse Oreo. I recalled J.Co's Oreo flavoured doughnuts? Emmm that was what exactly on my mind. Or should I called it NANA.Co instead? Hehehe Nyummmmmm.... How I wish I was in Malaysia - Now!!!!

Related Posts Plugin for WordPress, Blogger...